
I am going to use my mom's photo for this demo.
1: Open the photo in Photoshop. (I use Photoshop CS3)
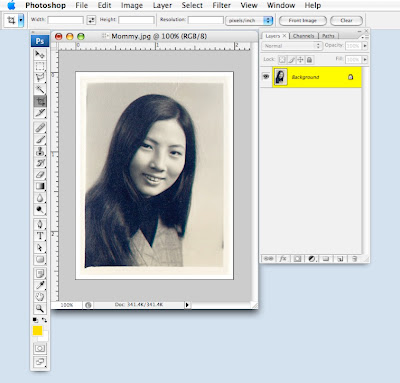
2: Go to yoUr old friend "ROUNDED RECTANGLE TOOL".

3: Draw a rounded rectangle across the photo to your desired size. (Note: I have changed the radius on top to just 0.1 in for this demo, cause the photo is quite small.) This is what you'll see:
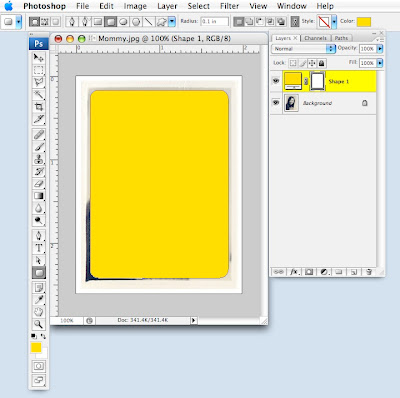

4: Whilte you stay on that layer, go to LAYER / RASTERIZE / SHAPE. Now your rectangle becomes a non-edible solid shape.

5: Duplicated the photo by going to the photo layer, then COMMAND+J (The magic short cut that copies and pastes your image to the exact same spot into a new layer above).

Fill your old photo layer with white.

Move your new photo layer above the rectangle layer.

6: Hold down COMMAND+OPTION+G. This will put the photo inside the rounded rectangular shape (or whatever shape you draw beneath the photo layer), like this:

Then just crop the image closer for less white space, or you can just leave it like this.

And here is the finished photo!


8 comments:
Beautiful mom. I bet you both look much alike!
Thanks again!
Best always,
Marjorie Ann
Another way would be to command select the shape in the layers palette, command shift i to inverse the selection, then bucket fill the inverted space with whatever color ,thereby creating a rounded frame, then you can just delete the shape layer... so many ways to do things in photoshop.
Nice tut, and I like the photo too!
WOW! Thank you soooooooooo much.
Your mom is beautiful, by the way. REALLY! :)
Your mom is HOT! Um... sorry... did I say that out loud?
Thank you for taking so much time to share your techniques! :) I gave you a blog award, if you care to collect it. xoxo
http://mikerbaker.com/knack/?p=462
Thanks for the great tute. I found it really helpful. It seems hard to find tutorials for simple tasks. I usually come across all sorts of crazy special effects ones that are kinda cool but not very useful for everyday.
cool demo, flora..i'll have to give it a try! thanks for your sweet note about my recent trip to the ER..I've been eating lots of bananas, since I went on this med, but it obviously wasn't enough! i hadn't heard of guava as being rich in potasium, but I'll it sounds great! i'd love to read about the 10 super foods, too!
Hi, I just found you through mushroommeddows'sblog, and thank you so much for sharing this skill. I have been trying to round my edges since I started blogging and I'm off now to give it go! Thanks :)
Your mother is beautiful
Post a Comment